 JETZT darf ich euch endlich, endlich all die Karten zeigen, die ich in den letzten Wochen auf Hochdruck gebastelt habe. Denn nun kann ich es verraten: ich darf für danipeuss.de das aktuelle Juni-Kartenkit vorstellen – als Gastdesignerin quasi. Und ich bin ja sooo happy darüber :-). Außerdem kann ich euch sagen, dass in diesem Kit wirklich tolle Sachen enthalten sind: Kartenrohlinge aus Kraftpapier und dazugehörige Umschläge, ein tolles Stempelset – so ganz nach meinem Geschmack mit einem extrem niedlichen Fuchs, einer dicken Hummel und Wölkchen … ;-), 4 Color Box Stempelkissen, Aquarellpapier, Cardstock in creme und weiß, Folie z.B. für Shakercards und verschiedene bedruckte Papiere.
Finally I can show you all the cards that I made during the last weeks. Because I am a guest designer at danipeuss.de and can show you what you can do with their current card kit. And I am very happy about it :-). Furthermore I can tell you about the great stuff that is included in the kit: craft carton cardbases and matching envelopes, a pretty stamp set with a cute fox, a thick bumblebee and little clouds … ;-), 4 Color Box ink pads, watercolor paper, cardstock in white and cream, plastic sheets, for example to make shakercards, and some printed paper sheets.
Heute möchte ich euch nun erstmal zwei Karten zeigen, bei denen ich die tollen Kraftpapier-Kartenrohlinge genutzt habe:
Today I want to show you this two cards which I created with this card kit. For the background I used the craft carton cardbases:
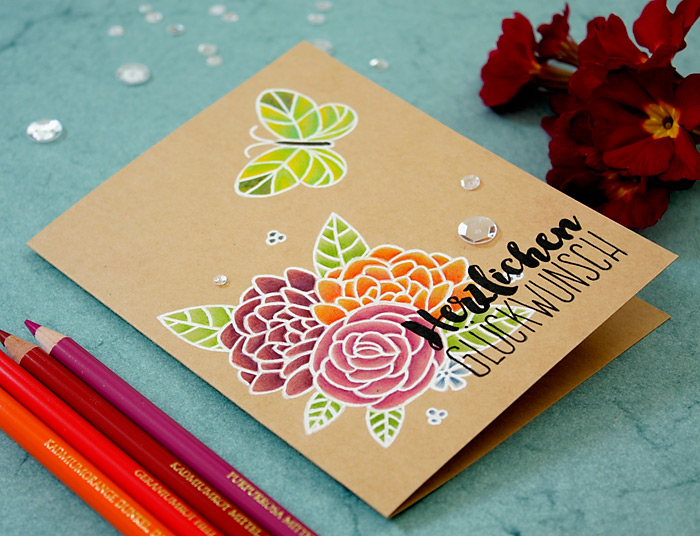
Diese Karte ist eine One-Layer-Karte, d.h. ich habe direkt auf den Kartenrohling mit weißer Stempelfarbe gestempelt. Hier habe ich mich auch mal so richtig an die Maskierungstechnik gewagt, und immer jene Blume abgedeckt, „hinter“ die ich stempeln wollte. Das macht richtig Spaß, so ganze Bouquets zu kreieren :-).
The first card is a one layer card. That means I stamped the blossoms with white ink directly on the cardbase. For this I used the masking technique and masked each blossom I wanted to stamp „behind“. That is a lot of fun and you can create your own bouquets :-).

Verwendet habe ich das Stempelset „Flutter By“ von Lawn Fawn. Blümchen, Blättchen und Schmetterling sind mit den Polychromos-Buntstiften* von Faber Castell in mehreren Schichten coloriert.
I worked with the „Flutter By“ stamp set from Lawn Fawn. I colored the blossoms, foliages and the butterfly in multiple layers with the colored pencils „Polychromos“* from Faber Castell.

Zum Schluss habe ich noch den Text „Herzlichen Glückwunsch“ aus dem Klartext Spruchstempelset „Glückwunsch“ in schwarz gestempelt. Es folgten noch ein paar Pailetten und ein bisschen Glitzer an ein, zwei Stellen.
At last I added the sentiment „Herzlichen Glückwunsch“ from the Klartext stamp set to the card. I stamped it with black ink onto the cardbase and over the blossoms. Then I stuck some transparent sequins to the background and added a little bit glitter in one or two places.
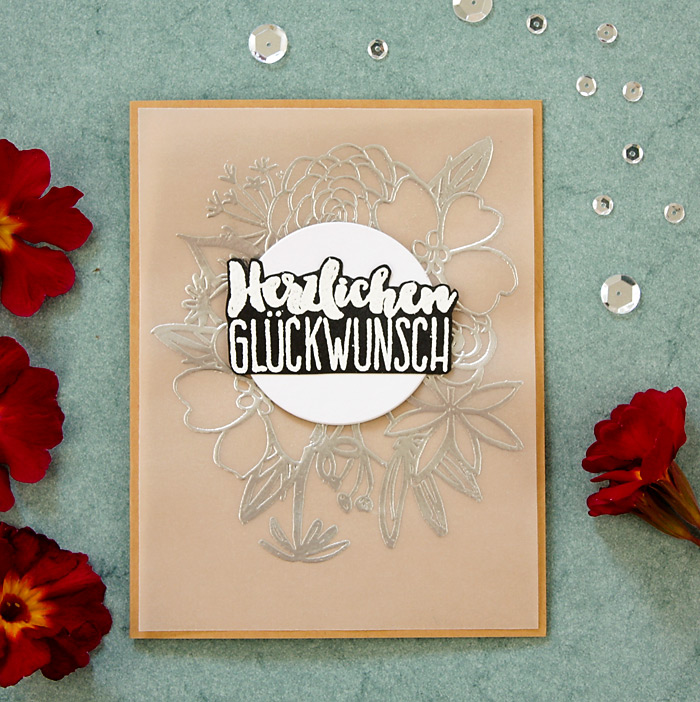
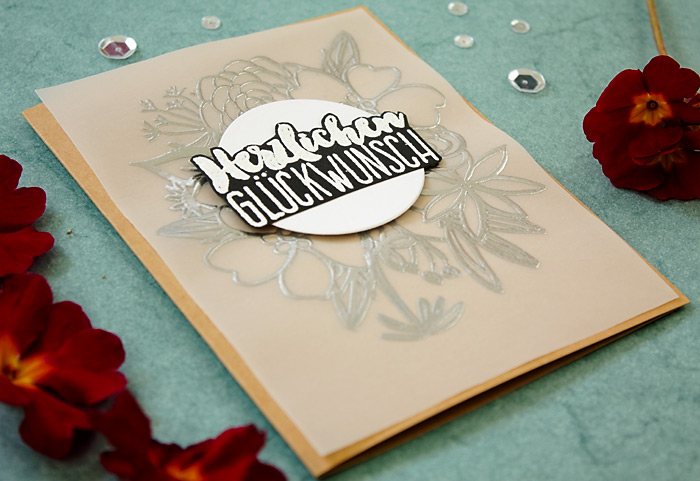
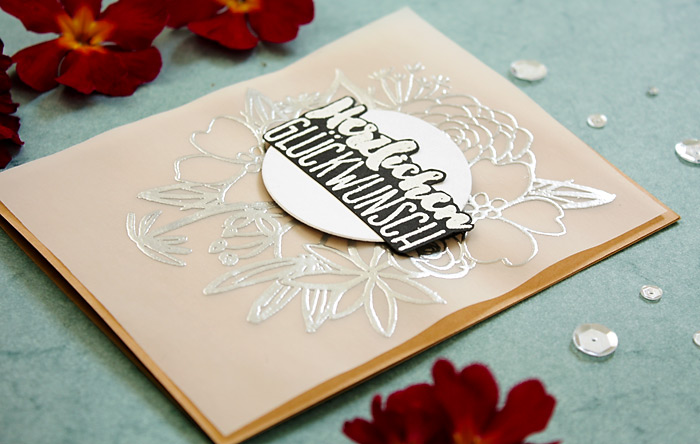
Für die nächste Karte habe ich die Blumen aus dem „Bohemian Garden“ Stempelset von Ellen Hutson (Essentials by Ellen) im Kreis auf Transparentpapier gestempelt. Dafür kam auch wieder die Maskierungstechnik zum Einsatz :-). Die Blümchen wurden dann noch in silber heiß embossed.
For the next card I stamped the blossoms from the „Bohemian garden“ stamp set in a circle on vellum paper. I used the masking technique here, too :-). I heat embossed the blossoms in silver.

Auf schwarzen Karton habe ich denselben Spruchtext „Herzlichen Glückwunsch“ (der ist ja sooo toll! :-)) aus dem Klartext-Stempelset „Glückwunsch“ gestempelt und mit weißem Embossingpulver heiß embossed. Den Text habe ich ausgeschnitten und auf einen Papierkreis in passender Größe geklebt.
I stamped the same sentiment „Herzlichen Glückwunsch“ (it is very great :-)) from the Klartext stamp set on black cardstock. Then I heat embossed it with white embossing powder. I cut out the sentiment and stuck it onto a paper circle in the right size.

Beides wurde dann mit Moosgummi als „Abstandsgeber“ auf das Transparentpapier und anschließend auf den Kartenrohling geklebt.
After that I glued the sentiment and the paper circle on a foam circle and then onto the vellum paper. At last I stuck it all together to the craft cardbase.

* Die Links führen zu Amazon. Wenn ihr hierrüber bestellt, erhalte ich ein kleines bisschen Provision. Damit würdet ihr mich ein klein wenig unterstützen, und ich würde mich freuen 
Affiliate link

So lovely! Especially the second card – heat embossing; in silver; on vellum – splendid!!