Ich muss gestehen, dass ich ja (vorallem) in letzter Zeit viel lieber Motive coloriere und Karten bastle, als diese hier online zu stellen; weshalb der Blog an Aktualität auch ein bisschen hinterherhängt ;-). Ganz ganz Aktuelles seht ihr immer auf Instagram :-).
Alle verwendeten Produkte findet ihr am Ende dieser Seite.
Lately I rather create new cards and color my card motifs instead of writing this blog. That is the reason why you can’t see my current card projects here. But you can see current projects on my instagram account :-).
(You can find a list and links of supplies I used at the end of this page)
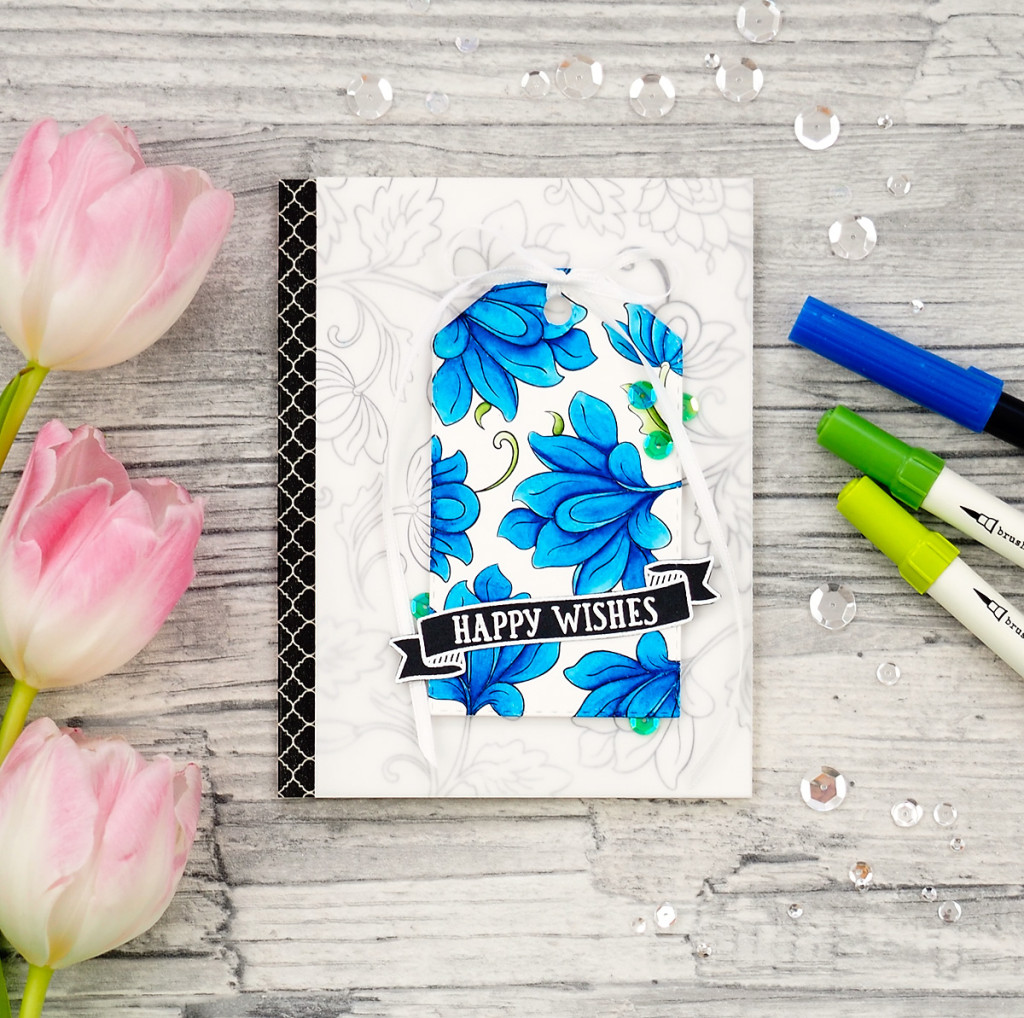
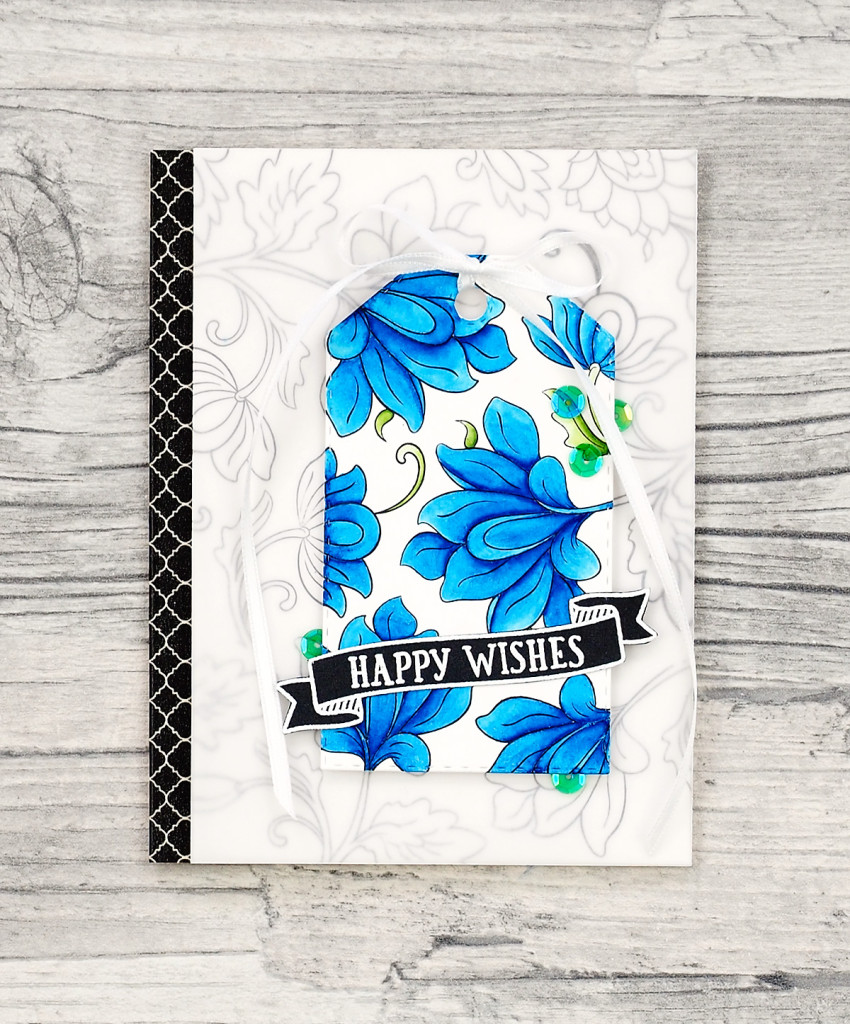
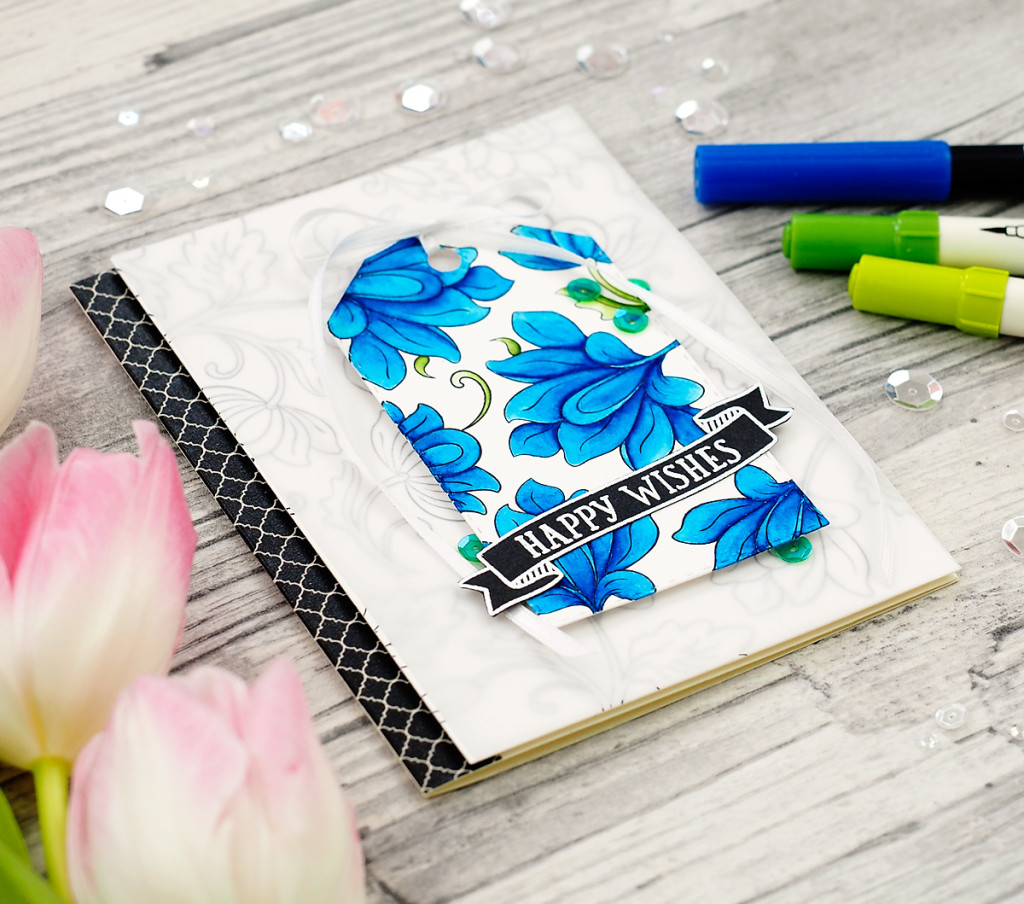
Bei der ersten Karte hatte ich das MISTI noch relativ neu und wollte endlich mal eine Karte gestalten, auf der monochrome wie auch colorierte Motive ineinander übergehen (fragt mich bitte nicht, wie diese Technik heißt, ich habe keine Ahnung ;-)). Außerdem wollte ich das Colorieren mit den Tombows bzw. Distress Markern ausprobieren. Voilá. Entstanden ist diese Karte mit den Motiven von Altenews „Persian Motifs“-Stempelset.
I bought the MISTI a short time ago when I created this card. I wanted to create a card on which the monochrome and coloring motifs are merging (please, don’t ask me how this technique is called, I have no idea ;-)). Also I wanted try out the Tombows and Distress Markers. This is how I created this card with the „Persian Motifs“ stamps from Altenew.
Zuerst habe ich den Hintergrund mit den Motiven des Stempelsets sowie meines MISTI’s gestempelt. Anschließend habe ich den Tag gestempelt, was gar nicht so einfach war. Ich bin nämlich ein kleiner Perfektionist (nein, eigentlich ein ziemlich großer), und die Motive sollten sich passgenau überschneiden.
First I stamped the background with the motifs from the stamp set using the MISTI. Next I stamped the tag. But this was not as easy as I thought. Because I am a bit of a perfectionist (no, a big one) and the motifs should overlap another.
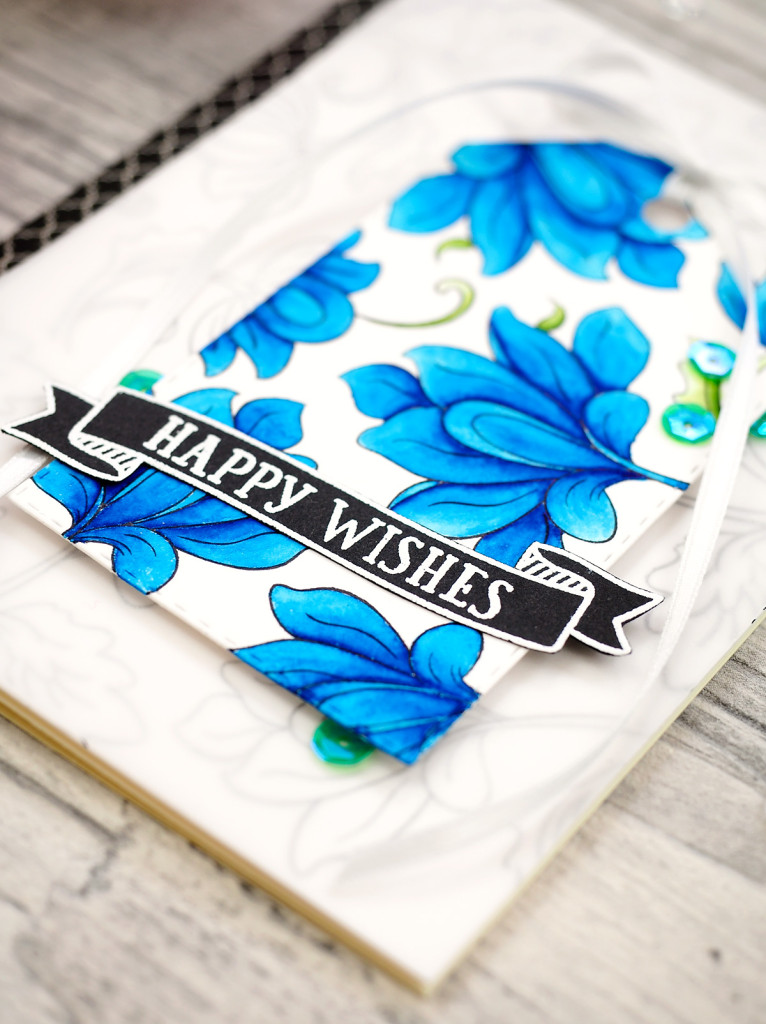
Danach habe ich den Tag mit einem Tombow Dual Brush Pen in Blau und den Distress Markern in Grün sowie einem Pinsel und etwas Wasser coloriert. Beide Stiftmarken lassen sich wirklich ganz toll mit Wasser vermalen (für meinen Geschmack besser als die Zigs). Außerdem habe ich den Spruch „Happy Wishes“ und den Banner (beide stammen aus dem „Woodland Wonders“-Stempelset von Avery Elle) mit Versamark auf schwarzen Karton gestempelt und anschließend mit weißem Embossingpulver heiß embossed.
Then I colored the tag with my Tombow Dual Brush Pen in blue, the Distress Markers in green and a brush with water. Both pens are great in blending with water (for my liking better than the Zigs). I also stamped the sentiment „Happy Wishes“ and the banner (both comes from the „Woodland Wonders“ stamps set from Avery Elle) with Versamark onto black carton. Then I heat embossed it in white.
Ich habe eine Kartenbasis seitlich mit einem Streifen passendem Washi Tape beklebt. Hinter dem einfarbig gestempeltem Papier habe ich Moosgummi angebracht. Auf der Vorderseite folgte ein Blatt Transparentpapier sowie der Tag (der ein Schleifchen in weiß erhielt und ebenfalls mit Moosgummi versehen ist). Als letztes habe ich den, zuvor ausgeschnittenen, Spruch auf den Tag geklebt und ein paar farblich passende Pailetten angebracht.
I glued a stripe of matching washi tape onto the left side of my card base. I stuck foam rubber behind my stamped background paper and added a piece of vellum paper on the front side of my background paper.
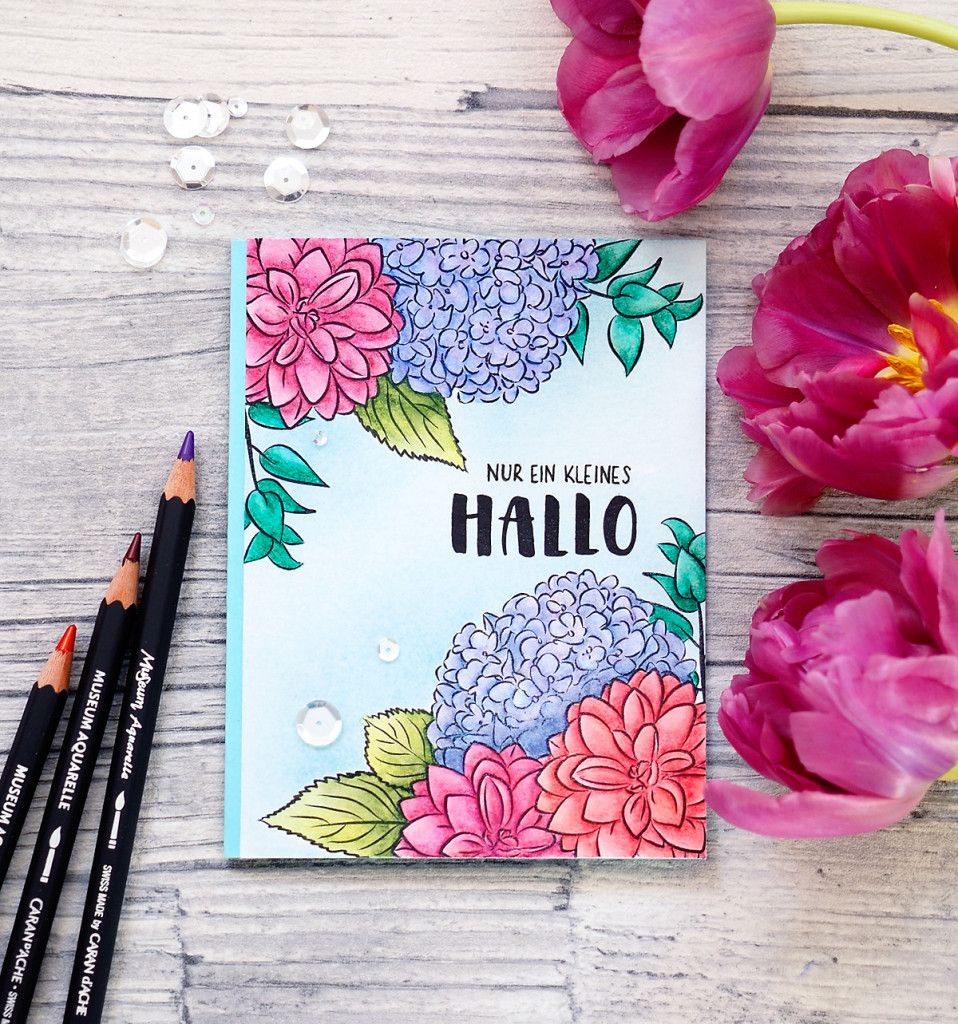
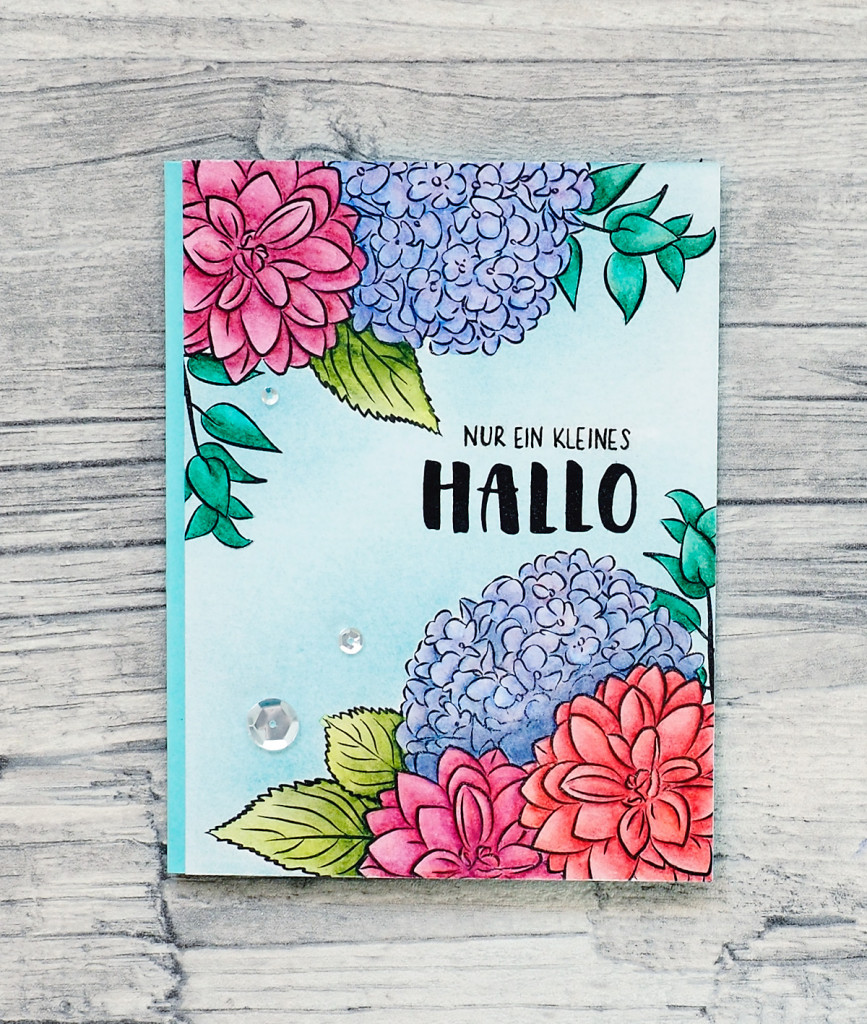
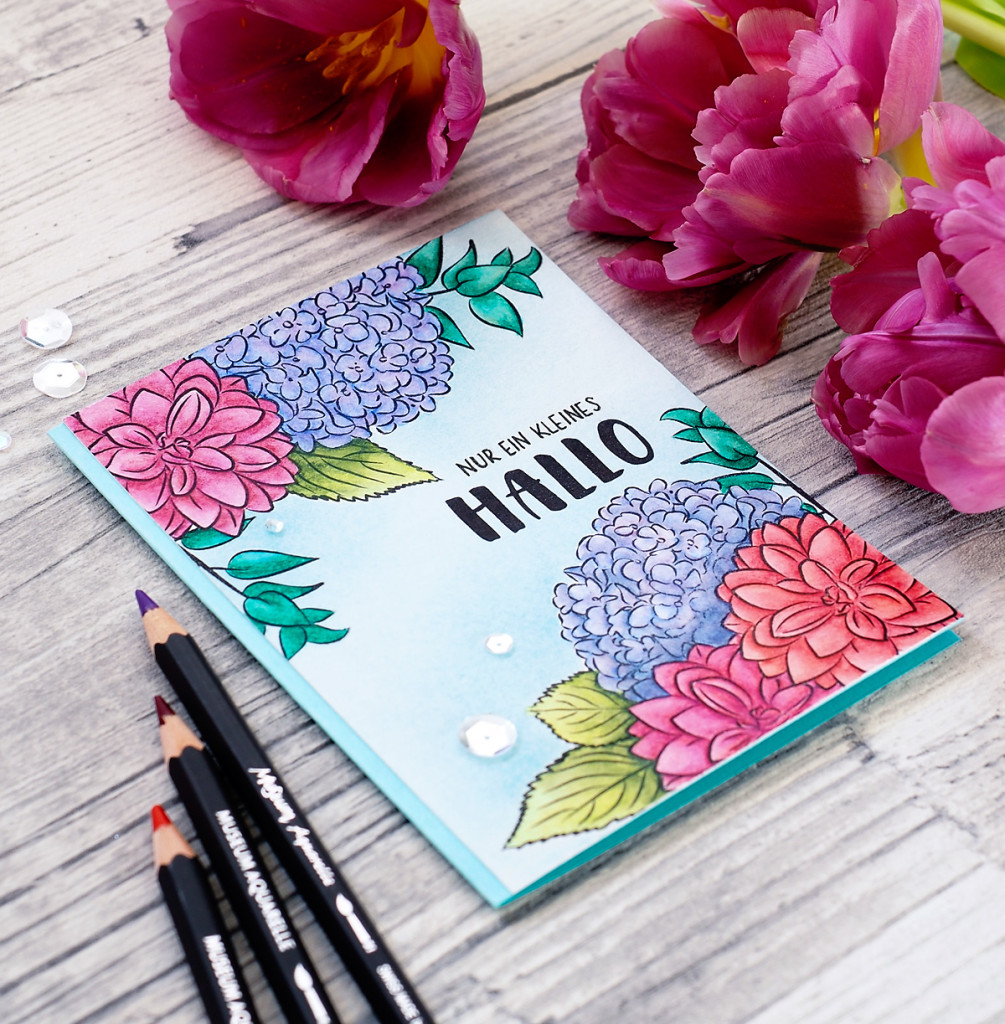
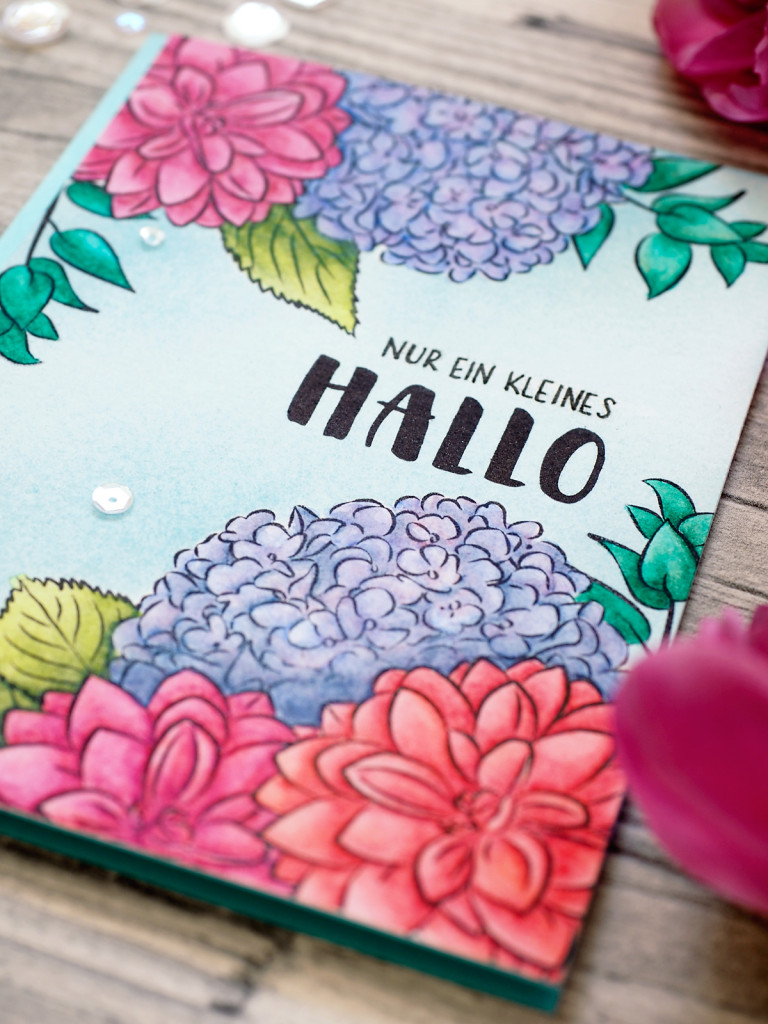
Das Stempelset „In Bloom: Addie’s Garden“ von Winnie and Walter besitze ich nun schon einige Monate, habe mich jedoch vorallem an das Colorieren der Hortensie nie so richtig herangetraut. Aber dann wollte ich die Museum Aquarellstifte von Caran d’Ache ausprobieren … 😉
I bought the stamp set „In Bloom: Addie’s Garden“ from Winnie and Walter a few months ago but I didn’t dare to colorize the hydrangea yet. But then I wanted to try out my Museum watercolor pencils from Caran d’Ache … 😉
Zuerst habe ich die Blümchen nach und nach gestempelt und immer wieder maskiert, um die Wirkung zu erzielen, die Blüten wären hintereinander. Anschließend habe ich alle Blüten und Blätter mit Maskingpapier abgedeckt und mit den Distress Inks den Hintergrund in einem hellen Blauton gewischt.
At first I stamped the blossoms one after another and masked each to get the effect of the blossoms being back-to-back. Then I masked all of them with masking paper and distressed the background with Distress Ink in light blue.
Danach habe ich Blüten und Blätter mit den Museum Aquarellstiften coloriert. Der Spruch „Nur ein kleines HALLO“ ist teilweise selbstgeschrieben. Das „HALLO“ habe ich mit den Einzelbuchstabenstempel „Brentano“ von Papierprojekt gestempelt.
I colored the blossoms and foliage with the Museum watercolor pencils. I stamped the sentiment „Hallo“ (german: Hello) with the seperate stamp letters „Brentano“ from Papierprojekt. I wrote the smaller words „Nur ein kleines“ (german: Just a little) by myself.
Zuletzt habe ich das Aquarellpapier auf eine farblich passende Kartenbasis geklebt und ein paar transparente Pailetten hinzugefügt.
At last I glued the colored paper onto a matching card base and added some transparent sequins.
Bezugsquellen (zum Einzelprodukt verlinkt, wenn möglich) / Supply source (linked to the product):
„Persian Motifs“-Stempelset von Altenew, z.B. bei sevenhillscrafts.co.uk
„Woodland Wonders“-Stempelset von Avery Elle, z.B. bei sevenhillscrafts.co.uk
„In Bloom: Addie’s Garden“-Stempelset von Winnie and Walter, z.B. bei sevenhillscrafts.co.uk
„Brentano“ Stempelset von Papierprojekt
Tombow Dual Brush Pen, z.B. bei gerstaecker.de
Distress Markers von Ranger, z.B. bei danipeuss.de
Distress Ink Pads Mini von Ranger, z.B. bei danipeuss.de
Tag-Stanzform von Simon Says Stamp
MISTI Stempeltool, z.B. bei stempelmuehle.de
Museum Aquarellstifte von Caran d’Ache, z.B. bei gerstaecker.de oder boesner.de
URSUS Fotokarton, z.B. bei gerstaecker.de
Merken

